

Explore tips, trends, and expert advice on remodeling, home additions, and creating spaces you’ll love.
Welcome To the CDC Blog

Change your old windows not only because it will enhance the look of your house, but also because it is one of the most effective methods of making your house energy-saving. Still, here is even better news, though: federal energy tax credits can often help homeowners to save money, provided they install energy-efficient windows, which qualify. You may have heard of the so-called Energy Tax Credit, but you are not so clear on how it operates. This FAQ-style document will shed some light in simple and easy-to-understand terms. What Is the Energy Tax Credit for Windows? The Energy Efficient Home Improvement Credit (a component of the Inflation Reduction Act of 2022) is a federally-funded program that offers homeowners a tax credit on energy efficient upgrades such as windows, doors, insulation and HVAC systems. Basically, the government encourages homeowners to enhance energy efficiency since it will minimize energy wastage and help the environment. When you are taking this credit, you are able to draw money back on your federal income tax filing on a portion of what you had spent on qualifying home improvements. How Much Is the Tax Credit for New Windows? The energy tax credit was reinstated in 2023 and homeowners should claim 30 percent of the full cost of the qualifying energy-efficient home improvements, such as the installation of new windows. Nevertheless, it has a limit of 4000 a year. In the case of windows, you will receive up to $600 in rebates annually, as part of a larger break of $1,200 annual rebate on all home envelope spending (such as windows, doors, and insulation combined). So, for example: · In the case that you purchase windows worth $2000, which qualifies, 30 percent of the purchase will be used as a credit of $600; that is, you are able to claim the full window credit in that tax year. · When you spend $4,000, you can only deduct windows up to $600. Do All Windows Qualify for the Energy Tax Credit? N, not all windows. In order to qualify, you need to have new windows that can pass ENERGY STAR(r) certification in your area. These are the windows that are designed with a special purpose to avoid heat loss in winter and minimize heat gain in summer. You should seek the ENERGY STAR label when you are buying new windows. You will also need the certification statement of the manufacturer who will ensure that your window model has all the energy-efficiency requirements of the credit. When you hire CD Construction to install your windows, we will see to it that your windows are up to these requirements, and you can present the credit during the time of taxation. Can I Claim the Credit for Replacing Old Windows? Yes, actually, one of the best ways to qualify for the credit is to replace the old, drafty windows with the new, energy efficient windows. It does not require you to be constructing a new house, the credit is only extended to existing primary homes. It cannot be claimed on your behalf that: · New home construction · Rental or investment buildings. · Vacation or secondary homes But when you are residing at the house and change your windows, you qualify. How Do I Claim the Energy Tax Credit? It is not that difficult to claim the credit. You will do it as you file your federal tax return at the end of the year, when the windows were installed. · Store your receipts and the certification statement of the manufacturer. · Complete IRS 5695 (Residential Energy Credits). · Attach the form to your normal tax filings for the year. You do not need to attach receipts with a tax filing, but it is advisable that you have the same, so that in case the economic regulator may demand the same in the future. In case you do not know how to complete the form, a tax expert can guide you through the steps to ensure that you are filing the form properly and receive the maximum credit available. When Does the Energy Tax Credit Expire? The bigger news is that the Energy Efficient Home Improvement Credit was extended through 2032, which means homeowners have almost a decade to plan and make upgrades while still receiving federal tax benefits. However, the credit resets each year, meaning you can only claim up to $600 per annum for windows. If you plan more than one upgrade (like new windows one year and doors the next), you can continue to take advantage of the credit annually. Why Should I Replace My Windows Now? Aside from the tax benefits, replacing your old windows offers long-term savings and comfort. Energy-efficient windows help: Reduce heating and cooling costs by keeping temperatures stable Lower outside noise Prevent drafts and condensation Improve your home’s resale value Plus, with federal tax credits available, it’s a smart time to upgrade. You’ll enjoy immediate comfort improvements while also lowering your future energy bills. At CD Construction , we specialize in energy-efficient remodeling and window installation. Our team uses high-quality, certified materials and ensures every installation meets both performance and eligibility standards, so you can save money and qualify for tax incentives with confidence
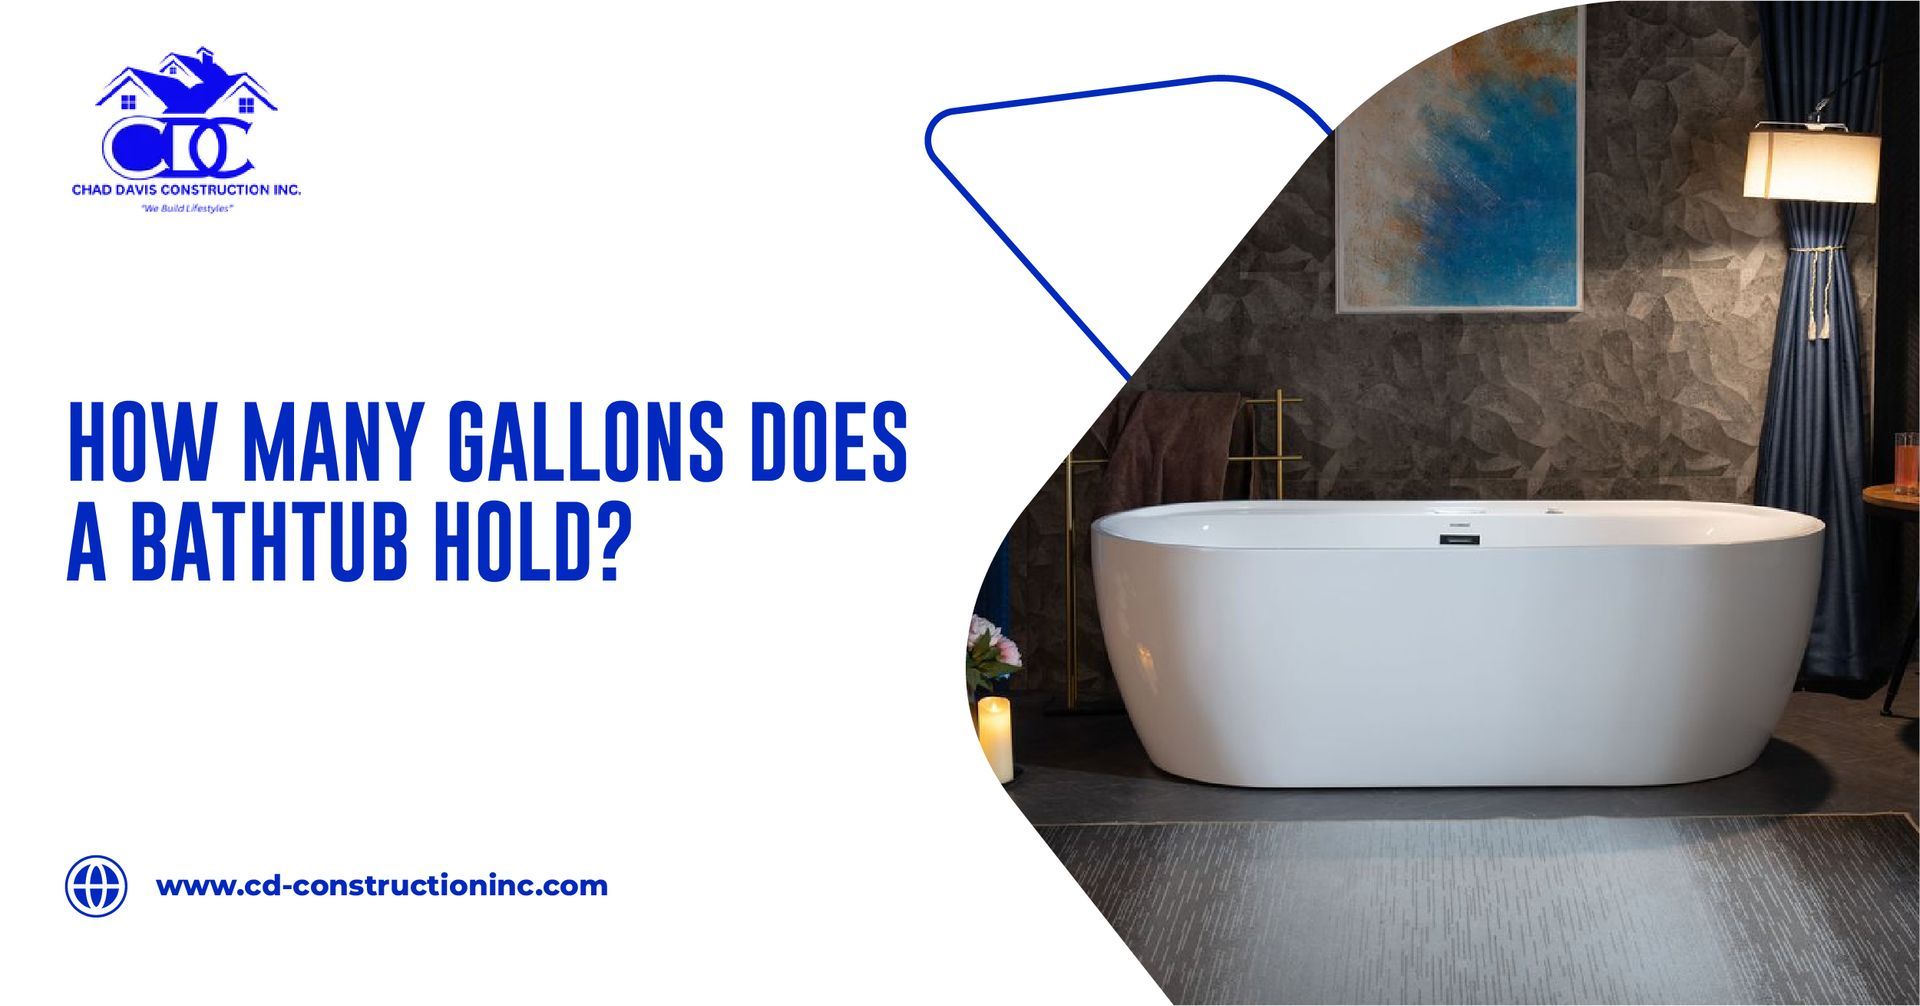
The design of your bathtub may not seem like a big issue when it comes to the home design; however, it could be a big difference when it comes to planning how to do your plumbing, water heating, or remodeling work. The most frequent question that a homeowner will ask is, how many gallons of water a bathtub can hold. The response is based on a number of factors such as the type, shape, and size of the bathtub. We can divide it into simple terms. Understanding Bathtub Capacity The capacity of a bathtub is a measure of the amount of water that can be contained in the bathtub when it is full. This is not the case in life, though, because you seldom fill a tub up to the rim, or it would overflow as soon as you get in. Usually, most tubs are filled not more than two-thirds full to allow space to be displaced by the body's weight. The bathtub capacity is commonly calculated in gallons in the US. The amount of gallons that your tub can hold will allow you to design the appropriate water heater size, plumbing needs and even the utility bills. As an example, a 40-gallon water heater would only provide half-warm water to an 80-gallon tub full of water. Average Bathtub Sizes and Capacities We shall consider the average water capacity of the most common types of bathtubs used in homes nowadays. 1. Standard Alcove Bathtub This is the most widespread kind of tub that is commonly used in smaller bathrooms or apartments. It is mounted on three walls and its design is simple and in the form of a rectangle. Ordinary size: 60 inches, 30 inches, 14-16 inches. Average Water Capacity: 40-60 gallons. To have a comfortable soak, you will probably fill it with approximately 40 gallons of water. It is a practical type and space efficient to use on a daily basis. 2. Soaking Bathtub Soaking tubs are deeper than the standard models and are designed to allow you to submerge more of your body when used to relax. Typical size: 60 inches long, 32 inches wide, 20–24 inches deep Average water capacity: 70–110 gallons Because of their depth, soaking tubs require more hot water, so it’s wise to ensure your water heater can handle the load. 3. Freestanding Bathtub Freestanding tubs, including clawfoot and modern sculpted designs, are often chosen for their luxurious appearance. Typical size: 55–72 inches long, 27–32 inches wide, 15–24 inches deep Average water capacity: 60–120 gallons They’re statement pieces, but their large size can also mean longer fill times and higher water usage. 4. Whirlpool or Jetted Bathtub These tubs include built-in jets for a spa-like experience. Because they’re designed for comfort and movement of water, they tend to be deeper. Typical size: 60–72 inches long, 32–36 inches wide, 18–24 inches deep Average water capacity: 80–120 gallons Installing one of these often requires reinforced flooring and a dedicated electrical connection, something CD Construction specializes in managing efficiently and safely. 5. Corner Bathtub Installed in bathroom corners, these are wider and often used for shared or decorative spaces. Typical size: 60 inches on each side, 20–22 inches deep Average water capacity: 90–120 gallons These tubs use quite a bit of water but are a favorite for homeowners who want a spa-inspired look. Why Knowing Your Bathtub’s Capacity Matters Knowledge about the number of gallons that your bathtub can hold is useful in a number of ways: · Planning your hot water: When you have a small water heater, you may run out of hot water before you fill your tub. · Utility Efficiency: The awareness of the gallons assists in estimating the amount of water (and energy) you will consume each time you take a bath. · Plumbing Design: In bathroom renovation, your contractor can make sure that your plumbing system can withstand the flow rate and drainage that you need in your tub. · Structural Safety: When full of water, the bigger tubs may weigh more than 1,000 pounds, particularly when you include a person. That is, you have to have your flooring reinforced well. At CD Construction, these details are always taken into consideration by our experts during the construction or remodeling of bathrooms. You make sure that not only is it beautiful, but also functional, safe and efficient. How to Estimate Your Bathtub’s Capacity at Home Want to know how much water your own tub holds? It is easy to figure out: · Measure the depth, length and width (in inches). · Add up these three numbers. · Divide the answer by 231 (one gallon = 231 cubic inches). · The last figure will tell you the number of gallons filled to the rim, but minus a fifth thereof, so that you can have an approximate fill-up. For example , a tub that’s 60" × 30" × 15" = 27,000 cubic inches. The capacity of 27,000/231 = approximately 117 gallons full, or about 90 gallons working capacity. Final Thoughts You can remodel your bathroom, change the fixtures, or just be interested in knowing how many gallons your bathtub can hold. Knowing the bathtub capacity is more than a fun fact; it is the practical information in the planning of the home. It can be as simple as selecting the appropriate type of water heater or making sure the flooring in your house is supported properly, but this little aspect may make or break, as far as your comfort and the functionality of your home are concerned. In CD Construction, we assist the homeowners in designing and constructing bathrooms that are comfortable, beautiful, and functional. When you are thinking of remodeling your bathroom or creating a new tub, our group can take you through the entire process of design, plumbing, and minor details.

Talent, precision and collaboration are three pillars of any successful project in the dynamic world of construction. Although heavy machinery and novel technology make a contribution, it is the human resource that actualizes the blueprints, and more specifically, those with fine, practical knowledge. In this problem, skilled labor comes into the picture. Be it a residential development, a commercial site or an infrastructure development, it is important to know the importance of skilled labor in delivering quality, safety and efficient development. In this blog, CD Construction deconstructs the meaning of skilled labor in the construction industry, its importance, and its implications on the results of each workplace. Defining Skilled Labor in Construction Skilled labor means those workers who have specialized knowledge, training, and experience to carry out certain activities in the construction process. In contrast to general laborers, skilled laborers, unlike general laborers, can be engaged in jobs that usually involve certification, licensing or technical education. They are trained to handle the tools and systems or materials so that they can be precise, regulate and produce quality results. Professional workers receive apprenticeship, vocational training, or experience on the job in order to perfect their trade. Common examples of skilled trades in construction include: Electricians Plumbers HVAC Technicians Carpenters Masons Welders Heavy Equipment Operators Roofers Concrete Finishers All these functions do not presuppose only physical skills but strong familiarity with codes, safety procedures, materials, measurements and sequencing. Skilled Labor vs. Unskilled or General Labor To understand skilled labor better, it’s helpful to draw a distinction between skilled and general labor: · General workers do strenuous work, but minor technical work, like transporting materials, cleaning debris, or simple demolition. Although they are essential to the working process, they usually do not demand any certifications or sophisticated tools. · The highly skilled workforce, however, is usually working with power tools, setting up systems, blueprints, or performing work where quality and adherence are not negotiable. Their work is more responsible and it directly influences structural integrity, energy performance, and project schedules. Both roles are important, but it’s skilled labor that drives the critical stages of a build — from foundation to finish. The Value Skilled Labor Brings to a Construction Project At CD Construction, we perceive a talented workforce as the force of greatness. These experts not only carry with them practical capability but also insight, problem-solving, and innovative thinking, which cannot be replicated by general labor. The value that labor expertise can add to a project is as follows: Precision and Accuracy Professional craftsmen have been trained to work according to architectural specifications and be able to make precise measurements that demand the highest level of accuracy. Such precision will avoid the expensive re-work and ensure the durability of structures and systems. Safety and Compliance The experienced workers are informed about the OSHA standards, construction codes and safety best practices. They ensure the safety of the end users as well as the integrity of the project through their knowledge. Efficiency and Speed Experience allows the experienced workers to work faster and error-free. Their on-the-fly troubleshooting also minimizes downtime and schedules projects on time. Adaptability and Leadership. The experienced workers tend to assume the role of supervisor or mentor. They are able to turn around at times of difficulties and present viable solutions that preserve the workflow and quality. The Growing Demand for Skilled Labor in the U.S. There is a shortage of skilled labor in the construction industry, which is well-documented throughout the country. Demand: Due to the retirement of the experienced tradesmen and the reduced number of young workers joining the vocational industry, there is a shortage of certified and reliable skilled labor. This is not only a decision, but a requirement for the construction firms such as CD Construction, which must invest in skilled labor. It further creates opportunities for career and employment security to tradespeople who are ready to join the trades, with the infrastructure investment and residential development on the upswing. How CD Construction Prioritizes Skilled Labor We know that at CD Construction, quality builds do not exist by luck, and this is because qualified hands and bright minds operate in unison. That's why we: o Employ qualified and skilled workers in any kind of project. o Fund further learning and safety education. o The development of mentorship and career among our crews. o Partner with local trade and apprenticeship schools. Hire experienced people to be the heads of our field teams and guarantee high-quality outputs. Whether it is an extensive project or a personalized house, our team of experts is the difference-maker in every successful project. Conclusion: Skilled Labor is the Backbone of Quality Construction The best you can do in building construction is to have the best people to do it. Tools and technology are part of it, but experience, technique, and effort of skilled work that make it safe, functional, and handicapped. Being a client, a project manager, or a contractor, investing in labor that is skilled is not about merely having the job done, but getting it done right. Corner-cutting is not in the game at CD Construction. We construct intentionally, accurately, and individuals who are proud of what they do.

Garden windows are more than just a decorative touch—they’re a practical upgrade that can bring natural light, extra space, and a fresh look to any kitchen. If you’ve been thinking about updating your kitchen, adding a garden window is an effective way to brighten your space and make it feel more open and inviting. In this guide, we’ll cover the benefits, installation process, styles, maintenance, and everything you need to know before adding a garden window to your home. 1. What Are Garden Windows? A garden window, sometimes called a bay window for the kitchen, extends outward from the home’s exterior wall. Unlike traditional windows, garden windows feature shelves inside the projection, creating a small, sunlit nook. Homeowners often use this space to grow herbs, display decorative items, or simply enjoy the extra natural light that floods the kitchen. Key features include: Angled glass panels for maximum sunlight exposure Interior shelving for plants or décor Operable sashes for ventilation Durable framing options such as vinyl, wood, or fiberglass By extending beyond the wall, garden windows not only enhance interior lighting but also improve the exterior aesthetic of the home. 2. Benefits of Installing a Garden Window Adding a garden window has several advantages that go beyond looks. 2.1 Natural Light and Brightness One of the most immediate benefits is increased sunlight. Kitchens often rely on overhead lighting, but a garden window allows sunlight to pour in from multiple angles, creating a more inviting and energizing space. Studies on home design consistently highlight natural light as a key factor in occupant well-being and productivity. 2.2 Extra Space for Plants and Decor The built-in shelves are perfect for small potted plants, kitchen herbs, or decorative items. Growing herbs like basil, thyme, or rosemary is easier than ever, providing fresh ingredients right at your fingertips. 2.3 Improved Home Value Real estate experts note that updated kitchens significantly boost home value. Garden windows add charm and functionality, making the kitchen more appealing to buyers. While exact ROI varies by region, homeowners typically see increased interest and potential resale value. 2.4 Energy Efficiency Modern garden windows are designed with insulated glass and durable frames. These materials reduce heat transfer, keeping kitchens cooler in the summer and warmer in the winter, potentially lowering energy bills over time. 2.5 Aesthetic Appeal Garden windows create a focal point in the kitchen, adding depth and visual interest. They pair well with traditional and contemporary kitchen designs, complementing countertops, backsplashes, and cabinetry. Ready to brighten your kitchen with a durable, energy-efficient garden window? Explore our premium kitchen window solutions today and transform your space effortlessly. 3. How to Choose the Right Garden Window Selecting the right garden window requires careful consideration of size, style, and material. 3.1 Size and Placement Above the sink is the most common location, providing a pleasant view while washing dishes. Ensure there’s enough wall space for proper framing and structural support. Consider kitchen layout—avoid areas that could block cabinets or countertops. 3.2 Frame Material Vinyl: Low-maintenance, affordable, and durable. Wood: Offers a classic look but requires regular upkeep. Fiberglass or Composite: Strong, low-maintenance, and energy-efficient. 3.3 Glass Type Single vs. Double Pane: Double-pane glass provides better insulation. Low-E Coating: Reflects heat, improving energy efficiency. Tempered Glass: Adds safety and reduces breakage risk. 3.4 Style Options Garden windows can be simple or elaborate. Some include decorative grids, while others feature smooth, modern lines. Consider the overall kitchen design when choosing style and finish. 4. Installation Process Professional installation ensures proper sealing, stability, and long-term performance. Here’s what to expect: 4.1 Preparation Measure the wall space carefully. Check for plumbing, electrical, or HVAC conflicts. Remove the existing window (if replacing). 4.2 Framing and Support Garden windows require secure framing and sometimes additional support to handle the outward projection. Professionals reinforce the structure to prevent sagging or water damage. 4.3 Window Placement The window is carefully leveled and sealed to prevent leaks. Interior shelves and trim are installed. 4.4 Finishing Touches Caulking and weatherstripping are applied. Paint or stain may be added to match the kitchen. Final inspection ensures the window operates smoothly. Tip: Proper installation protects against water infiltration, drafts, and long-term damage, which DIY projects sometimes overlook. 5. Maintenance Tips for Longevity Maintaining a garden window is simple but important for performance and appearance. Clean glass regularly to maximize sunlight. Inspect seals for cracks or gaps annually. Dust and water plants carefully to avoid moisture buildup. Lubricate operable sashes to maintain smooth function. By staying on top of maintenance, your garden window can last decades while continuing to enhance your kitchen. 6. Common Questions About Garden Windows Q1: Can garden windows fit any kitchen layout? Yes, as long as there’s enough wall space and proper structural support. Professional consultation helps determine feasibility. Q2: How much does a garden window cost? Typical costs range from $500 to $2,000 for materials and $300–$800 for professional installation, depending on size and frame material. Q3: Are garden windows energy efficient? Modern windows with double-pane or Low-E glass are highly energy-efficient, helping maintain indoor temperature and reduce energy costs. Q4: Can I install a garden window myself? While DIY is possible for skilled homeowners, professional installation ensures safety, correct sealing, and proper support. Q5: How do I care for the window’s frame? Vinyl and fiberglass require minimal upkeep. Wood frames should be stained or painted regularly to prevent rot. 7. FAQs (Based on People Also Ask + Gemini Queries) What is the difference between a garden window and a bay window? Garden windows project outward and include shelves, while bay windows are larger and often feature seating or storage nooks. Do garden windows increase home value? Yes, they enhance kitchen aesthetics, lighting, and functionality, which appeals to buyers. Can garden windows support heavy plants? They can hold small to medium potted plants; heavy items should be placed on sturdy shelving or supported externally. How long does installation take? Professional installation typically takes 1–2 days, with preparation and finishing adding another day or two. Are garden windows suitable for all climates? Yes, but double-pane or Low-E glass is recommended in extreme temperatures to maintain energy efficiency. 8. Internal Linking Opportunities To provide readers with additional helpful content, consider linking to these subtopics: Kitchen Remodeling Tips – Planning a full kitchen upgrade Window Replacement Guide – Comparing different window styles Energy-Efficient Home Upgrades – Maximizing insulation and light DIY vs Professional Window Installation – Pros and cons of each Indoor Herb Gardening Tips – Growing herbs near kitchen windows 9. TL;DR Summary Garden windows bring natural light, extra shelving, and a bright, airy feel to your kitchen. They’re energy-efficient, enhance aesthetics, and can increase home value. Proper placement, professional installation, and simple maintenance ensure long-lasting benefits. Ideal for both classic and modern kitchens, a garden window is a practical and visually appealing upgrade. 10. Conclusion Adding a garden window is a smart way to improve kitchen lighting, create additional space for plants, and enhance your home’s overall style. With proper planning, professional installation, and minimal maintenance, garden windows offer both functional and aesthetic benefits for years to come. Whether you’re looking to grow herbs, display décor, or simply brighten your cooking space, a garden window is a worthwhile investment that combines beauty and practicality. Not sure which garden window fits your kitchen best? Our experts a www.cd-constructioninc.com can help you select the perfect style and material for your home.
Discover how top office interior designers in 2025 are redefining workspaces with tech, wellness, and sustainability. A smarter, stylish future starts now.
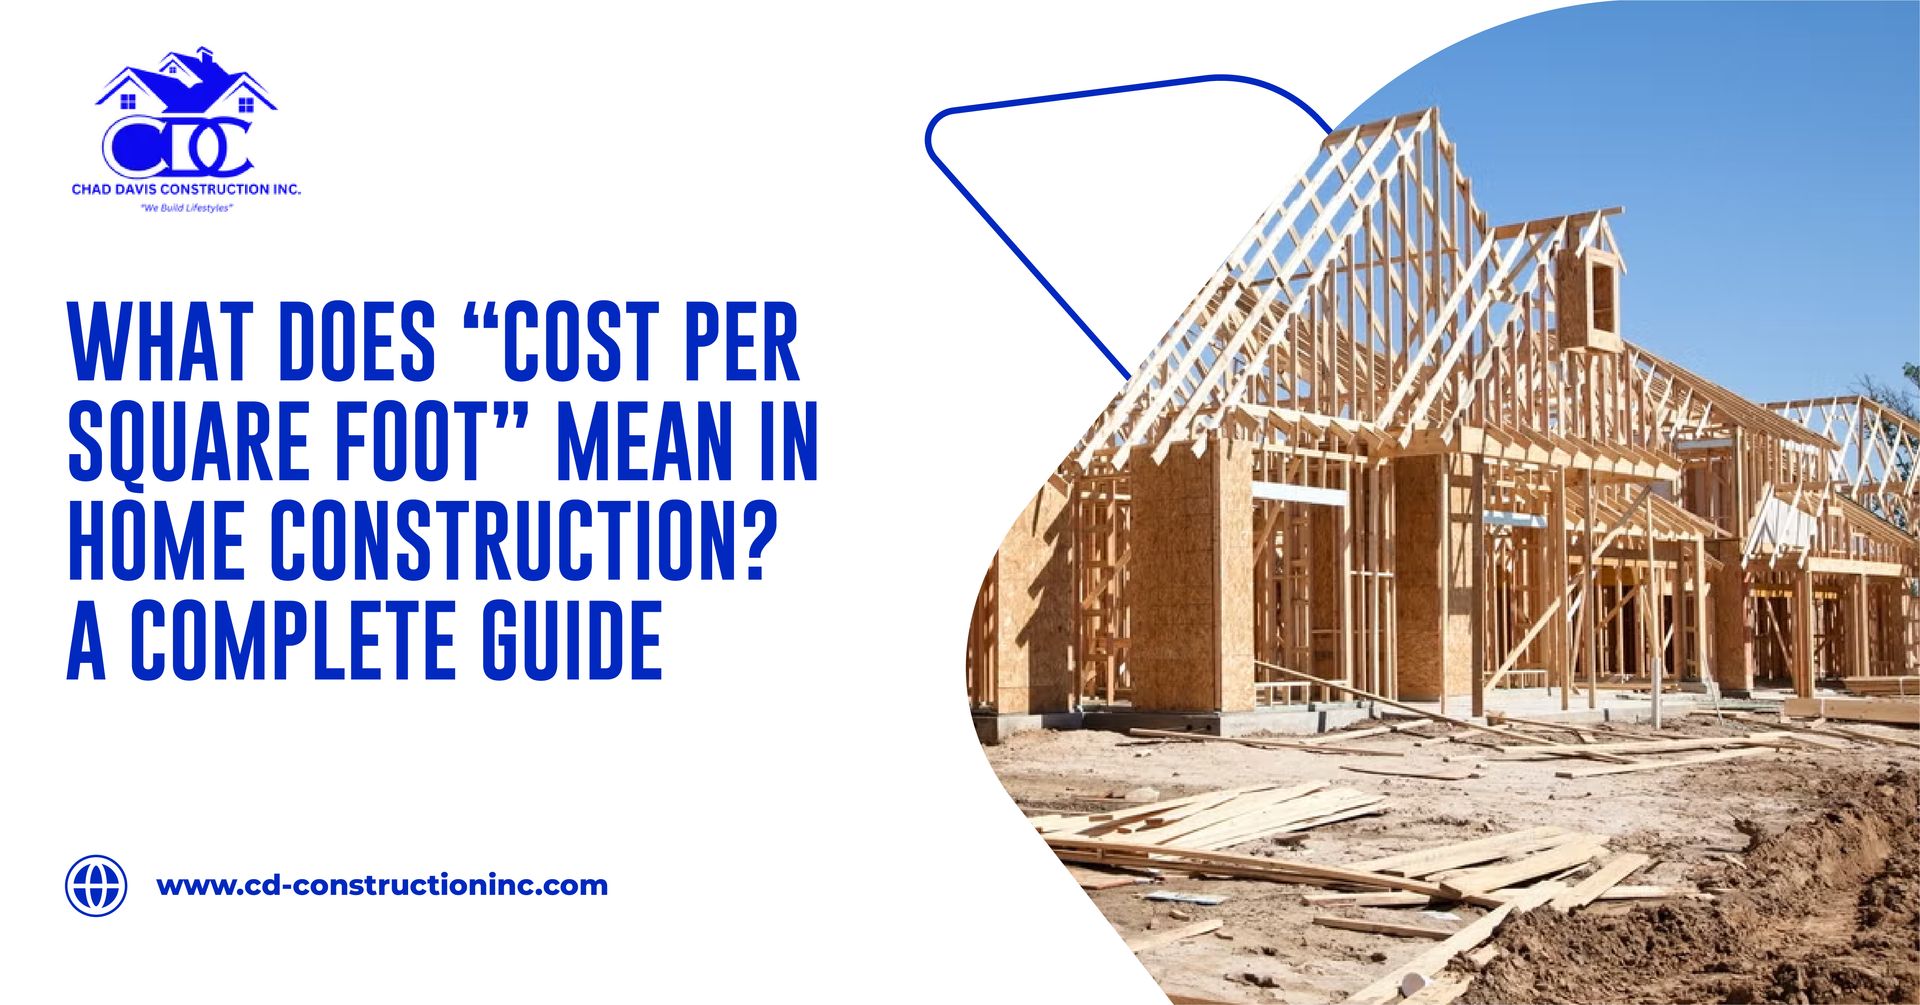
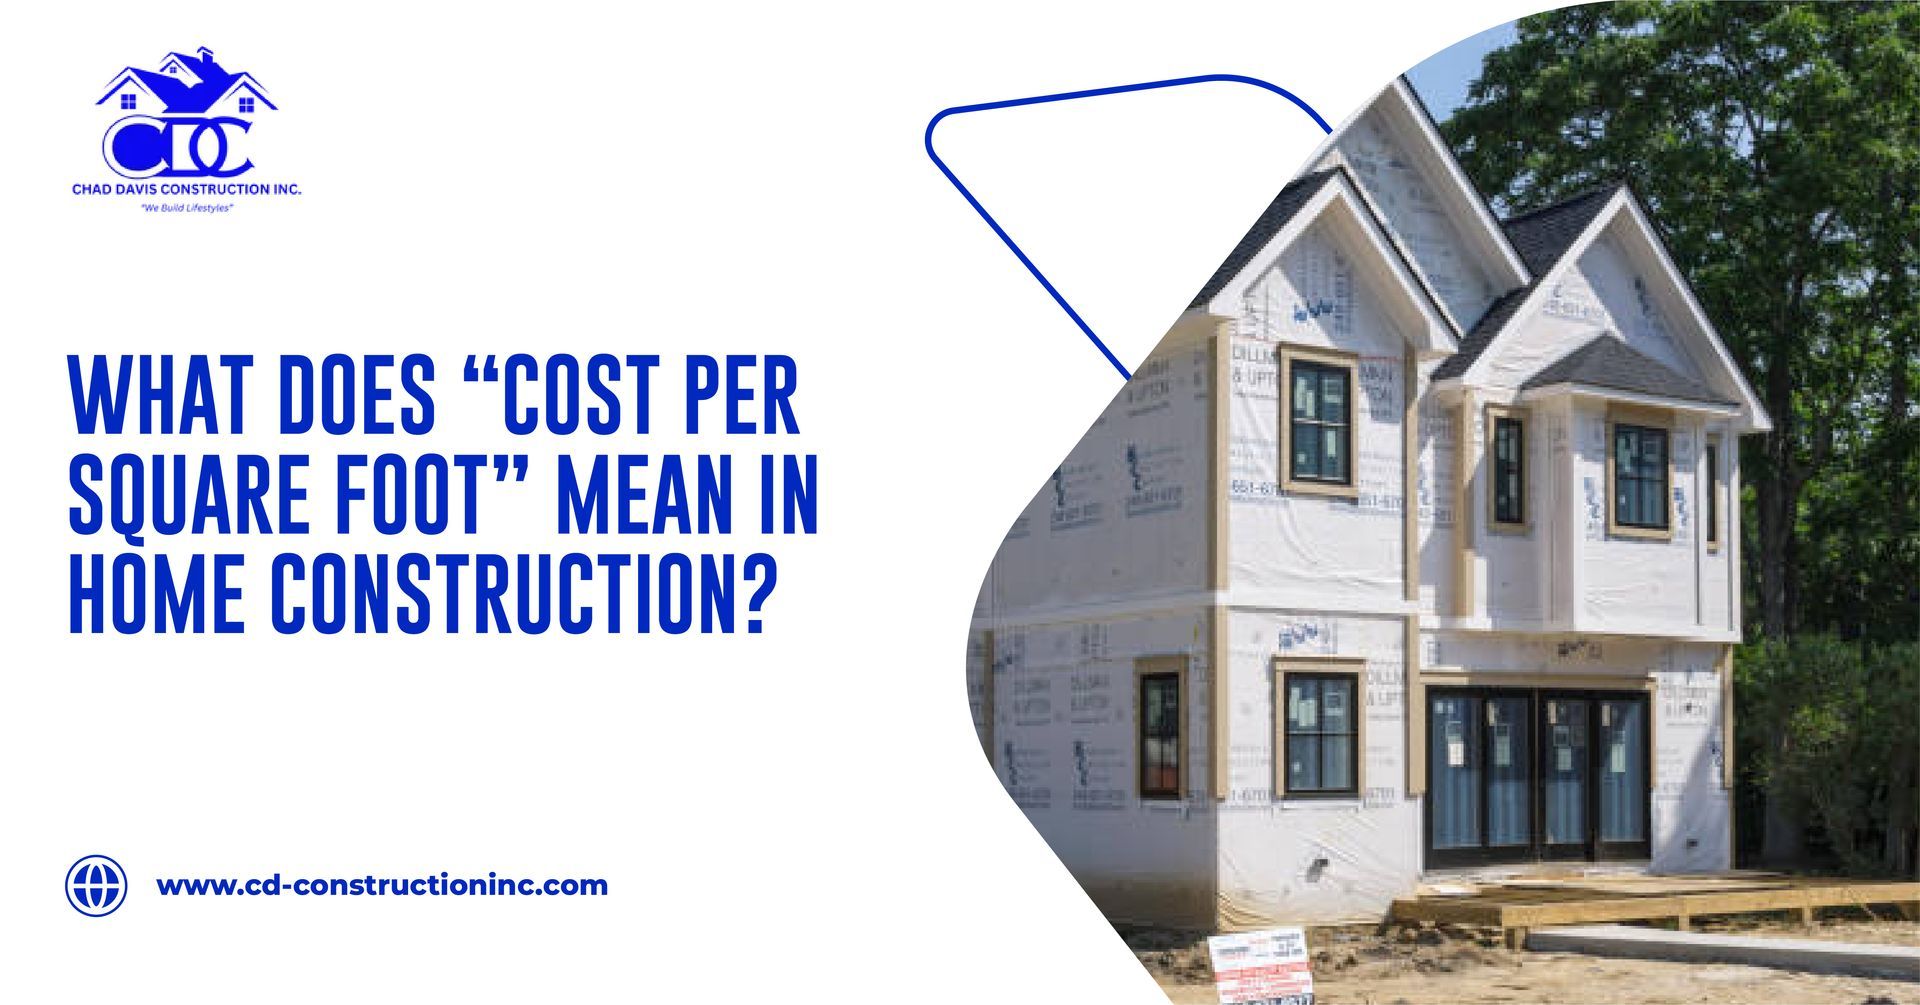
Understand home construction cost per square foot, what’s included, and how to compare builders for accurate budgeting. Get expert tips today.

White kitchens are clean, classic, and bright—but are they still in style in 2025? Learn about pros, cons, and how to keep them warm and timeless.
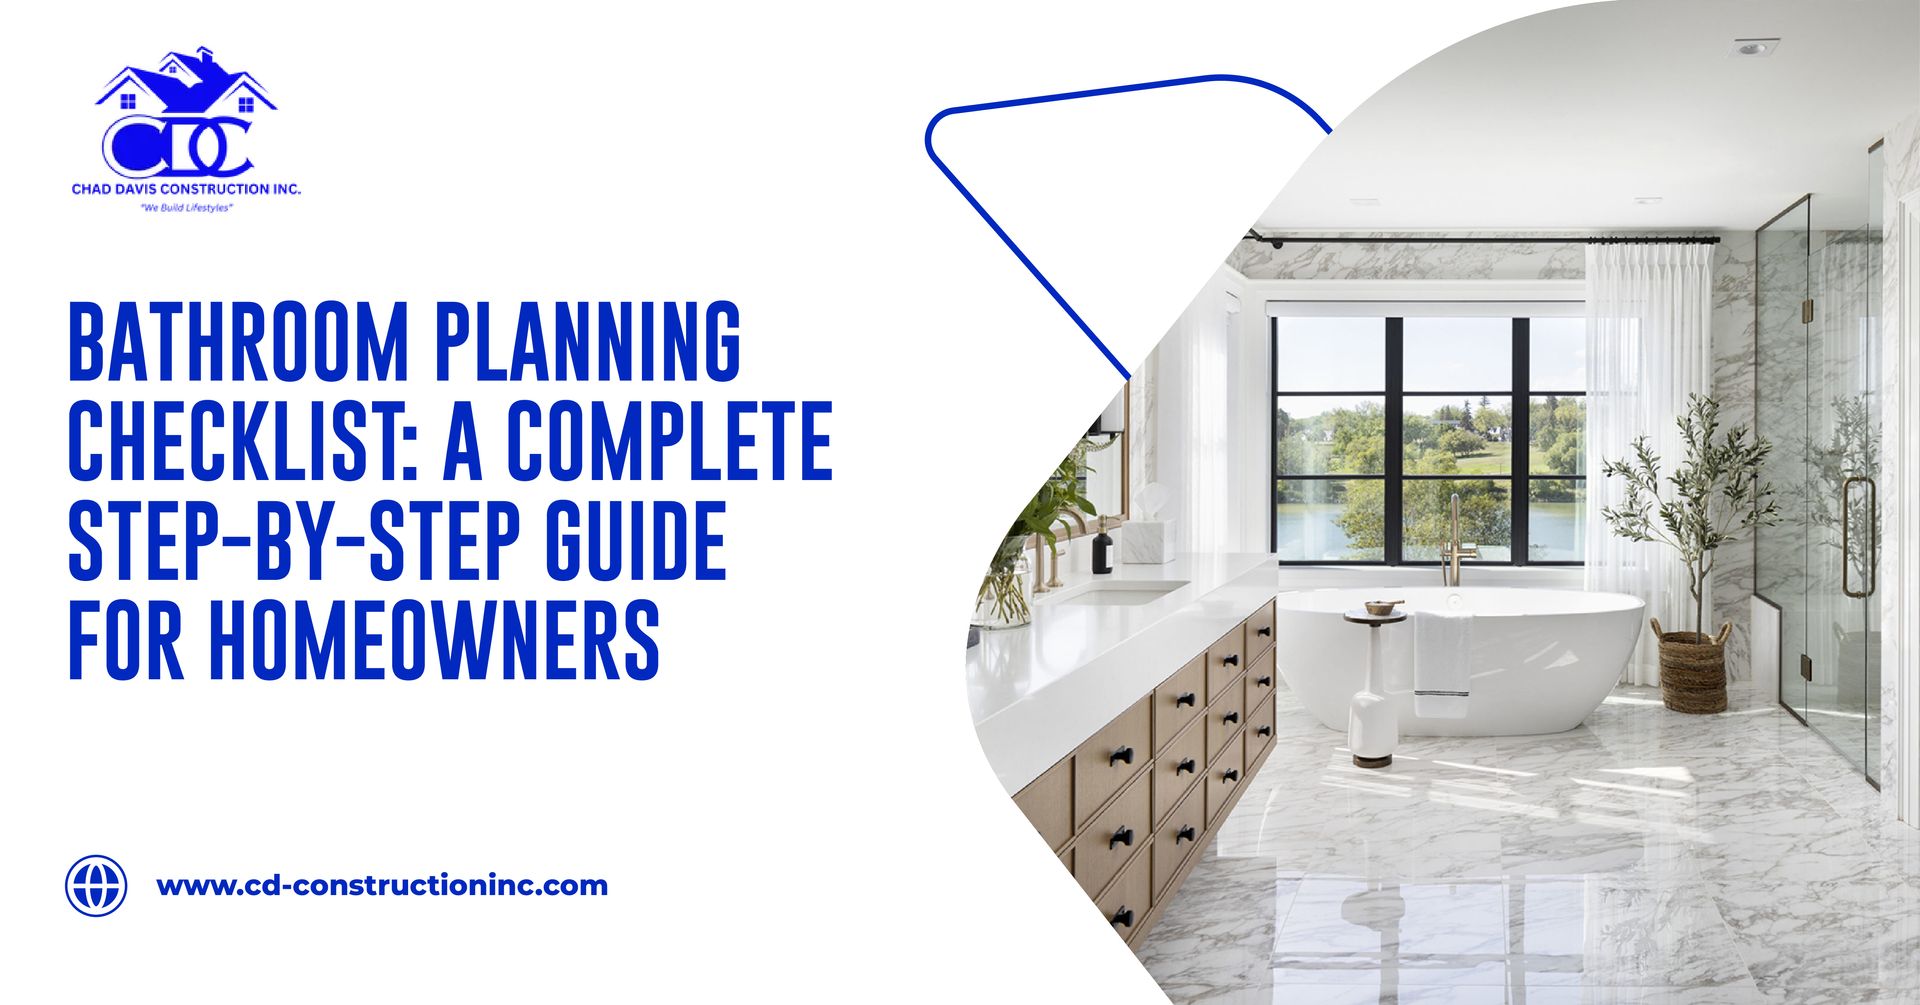
Planning a bathroom remodel? Whether you're updating a dated space, improving functionality, or creating a spa-like retreat, a successful renovation requires more than just selecting new tiles or fixtures. A well-thought-out bathroom planning checklist ensures that every detail—from plumbing layout to storage—works together to suit your lifestyle, your home, and your long-term needs. This guide walks you through every step of the process—from defining your goals to choosing the right materials—so you can plan with confidence and avoid common renovation pitfalls. Step 1: Define Your Remodel Goals Before diving into design boards or demolition, start with clear intentions. Ask yourself: What’s not working in your current bathroom? What features do you absolutely need? Are you planning for resale, aging in place, or personal comfort? Clarifying these points helps you prioritize decisions and prevents scope creep. Whether your focus is increasing functionality, improving aesthetics, or solving structural issues, your goals should guide every other choice on your checklist. Step 2: Measure Your Space and Evaluate Layout Options Bathroom design is all about optimization. Before selecting vanities or fixtures, take accurate measurements of your existing space—including walls, windows, and doorways. Use these dimensions to determine what layout works best. Standard layout options include: Single-wall layouts for powder rooms or narrow bathrooms. Galley or corridor layouts for Jack-and-Jill bathrooms. L-shaped and U-shaped layouts are ideal for master bathrooms where you want added privacy and ample counter space. Be sure to account for clearance around fixtures like the toilet, sink, and shower. It’s also important to consider how doors—whether entry or cabinet—will open to prevent crowding or blocked access. Ready to upgrade your bathroom storage? Our bathroom remodeling services can help you design a space that’s both stylish and practical. Step 3: Determine Plumbing and Electrical Needs Any time you move fixtures (like a sink or shower), your plumbing layout may need to change. This also applies to adding features like heated floors, new lighting, or a bidet. Coordinating these systems early in the planning stage helps avoid delays or costly change orders later. Key considerations: Where will your lighting switches go? Do you need additional outlets near the vanity? Are your current pipes and drains in good condition? Working with a licensed plumber and electrician early helps verify feasibility and aligns your design vision with what's practical. Step 4: Settle on a Design Style and Color Scheme Your bathroom should reflect your overall home aesthetic while offering its own sense of sanctuary. Whether you gravitate toward modern minimalism, rustic charm, or timeless elegance, having a clear style from the outset helps narrow down choices for fixtures, tiles, hardware, and paint. Popular design styles for 2025 include: Warm minimalism with neutral tones and wood accents Nature-inspired spa retreats with stone textures and greenery Mid-century modern with bold fixtures and geometric tiles Stick with a limited color palette and repeat materials for cohesion. If you're not sure where to start, create a mood board with inspiration from design platforms like Pinterest or Houzz. Step 5: Choose Materials That Balance Style and Durability Bathrooms demand materials that can handle daily exposure to moisture, heat, and heavy use. Choose wisely: Flooring: Porcelain and ceramic tiles are classic, but natural stone and luxury vinyl are also gaining popularity. Countertops: Quartz is durable and low-maintenance; granite and marble offer unique character but may require sealing. Walls: Painted drywall should be moisture-resistant, especially near showers. Consider tile, shiplap, or bead board for texture and protection. When selecting finishes, consider slip resistance for flooring, cleanability for surfaces, and the potential for mold or mildew. A bathroom that looks beautiful but fails under pressure will only cause frustration in the long run. Step 6: Maximize Storage Without Sacrificing Flow A cluttered bathroom feels smaller and less functional. Build in storage wherever possible: Vanity drawers and cabinets for toiletries and grooming tools Medicine cabinets for daily essentials Consider adding built-in niches in the shower to neatly store soap and shampoo. For towels and extra supplies, open shelving or tall linen towers work well. In smaller bathrooms, take advantage of vertical space to maximize storage without crowding the floor. Step 7: Prioritize Quality Lighting Bad lighting can ruin even the best bathroom design. A balanced lighting plan includes: Ambient lighting from ceiling fixtures Task lighting around mirrors and vanities Accent lighting to highlight niches, artwork, or architectural features Opt for soft white LED lighting, and consider layered controls like dimmers. For makeup application or shaving, lights on either side of the mirror work better than overhead fixtures, which cast shadows. If you have a window, factor in natural light during different times of the day and consider privacy solutions like frosted glass or top-down shades. Step 8: Select Plumbing Fixtures and Accessories This is where function meets personality. Choose faucets, sinks, tubs, and toilets that complement your design style, but don’t forget practical details: Do you want a freestanding tub or a shower-tub combo ? Would a wall-mounted faucet make cleaning easier? Is your showerhead adjustable or fixed? Do you prefer a one-piece or two-piece toilet? Small details like towel bars, hooks, and soap dispensers are just as important. Coordinate these with your plumbing fixtures to maintain a consistent look and finish across the entire bathroom. Step 9: Factor in Ventilation and Heating Bathrooms are naturally humid environments. Without proper ventilation, mold and mildew can develop quickly. Every full bath should have: A high-capacity exhaust fan (rated for the size of your room) A window, if possible, for passive ventilation Also consider radiant floor heating or a heated towel rack for added comfort. These small upgrades can make a big difference in colder climates or tiled bathrooms. Need creative solutions for a small bathroom? Explore our interior remodeling options to make every square foot count. Step 10: Plan for Future Needs and Accessibility Even if accessibility isn’t a concern now, consider aging in place or resale value when remodeling. Features that blend function with aesthetics include: Curbless showers for barrier-free entry Grab bar reinforcement behind walls (even if not immediately installed) Comfort-height toilets Lever-style faucet handles instead of knobs Universal design is not only practical—it’s stylish when planned well. Step 11: Hire the Right Remodeling Team Bathroom remodels involve plumbing, electrical work, tiling, and often structural updates. Working with experienced contractors ensures your vision is executed safely, efficiently, and according to code. Look for contractors who: Are licensed and insured Provide references and past project portfolios Communicate clearly and transparently Offer a clear timeline and budget estimate If you're in North Carolina, working with a skilled bathroom remodeling contractor ensures your bathroom is designed and built to last, with every detail handled by professionals who understand your lifestyle and home architecture. Step 12: Create a Realistic Timeline and Plan for Disruptions Bathroom remodels can take anywhere from one to eight weeks depending on scope. Plan ahead: Set up a temporary bathroom if your main one will be out of use. Secure all materials before demolition to avoid delays. Build in buffer time for unforeseen issues like plumbing upgrades or structural repairs. Open communication with your contractor keeps things moving smoothly and minimizes stress throughout the project. Final Thoughts: Why This Checklist Matters A well-executed bathroom remodel doesn’t happen by accident—it’s the result of careful planning, smart choices, and experienced execution. This checklist helps you avoid common pitfalls, from material mismatches to layout oversights, so you can create a space that’s both beautiful and built for everyday life. If you're considering a bathroom upgrade in 2025, now is the time to lay the groundwork. From mood boards to plumbing rough-ins, every decision matters. Thinking of a full bathroom makeover? Get inspired and start planning with our expert home improvement services today.

Planning a kitchen remodel? Discover the top 7 questions homeowners ask, from design tips and timelines to budget considerations.

Polished concrete is becoming a go-to flooring option for homeowners, designers, and business owners looking for a modern, durable, and low-maintenance surface . Once limited to warehouses and factories, it now appears in homes, offices, and luxury spaces because of its clean aesthetic and long lifespan . Before choosing this sleek flooring solution, it’s important to weigh its advantages, limitations, installation requirements , and design flexibility . This guide provides a comprehensive breakdown of everything you should consider before installing polished concrete floors in 2025. What Is a Polished Concrete Floor? Polished concrete is made by grinding down the surface of a concrete slab using diamond abrasives. This process removes imperfections and creates a smooth, often shiny surface. A densifier is used during the process to harden the surface , and various finishes can be added—ranging from a subtle matte to a high-gloss look. Unlike coatings such as epoxy, polished concrete is not a separate layer—it’s a treatment of the existing concrete base , making it an efficient and environmentally friendly option. Key Advantages of Polished Concrete 1. Long-Term Durability One of the main reasons people choose polished concrete is its toughness. When properly finished and maintained, these floors can easily last two to three decades without needing replacement. They're resilient against foot traffic, heavy furniture, and even industrial equipment in commercial settings. 2. Simple Upkeep Compared to traditional flooring, polished concrete is very low maintenance. There’s no need for waxing or special treatments. Routine cleaning with a dust mop and occasional wet mopping with neutral cleaners is typically enough. 3. Environmentally Friendly Since it uses the existing concrete slab , this flooring eliminates the need for new materials like tile, vinyl, or carpet. This not only saves resources but also reduces waste and VOC emissions, which can be important for eco-conscious projects or LEED-certified buildings. 4. Custom Look Options Polished concrete is no longer just plain gray. It can be tailored in many ways—through colored stains, exposed aggregates, or etched patterns . Whether you're aiming for an industrial vibe or a minimalist look, there are design choices to match your style. 5. Brightens Up Interiors When finished with a reflective sheen, polished concrete can help amplify lighting in a space. This can reduce the need for artificial lighting, especially in commercial or open-plan homes. For Expert Polished Concrete Flooring Services Polished Concrete Flooring is a great choice for adding durability and style to your home. Drawbacks to Consider 1. Comfort and Hardness Polished concrete is unforgiving underfoot. Standing for long periods can be uncomfortable without rugs or mats. It’s not the best choice for people who want a warm, cushioned surface. 2. Feels Cold Concrete tends to retain the temperature of its surroundings. In colder climates or during winter months, it can feel chilly unless radiant heating is installed underneath. 3. Cracks May Develop Concrete naturally expands and contracts with environmental changes. Over time, hairline cracks may form. Though usually harmless, they can become a visual issue if aesthetics are a priority. 4. Moisture Risks Concrete is porous, and without proper sealing, moisture vapor can seep through the surface, especially in basements or humid climates. This can damage furniture or promote mold growth if ignored. 5. Sound Can Echo The hard surface of concrete doesn’t absorb sound, so echoes and noise amplification may occur, especially in large, empty rooms. Using soft furnishings or acoustic panels can help manage this. What the Installation Process Looks Like Step 1: Inspection and Prep Before polishing starts, the concrete slab must be checked for cracks, stains, or uneven spots . These are usually repaired ahead of time to ensure a smooth finish. Step 2: Grinding and Polishing Contractors use specialized machines with diamond grinding tools to smooth and polish the surface in multiple stages , increasing grit size with each pass. This can be done to varying degrees, depending on how shiny or natural you want the finish. Step 3: Densification and Sealing A densifier is applied to strengthen the concrete. After polishing, a protective sealer is added to improve resistance to moisture and stains. Some floors are also burnished for added shine and durability. Typical Timeline Homes : 3–5 days Commercial projects : 5–10 days, depending on size and detail Estimated Costs in 2025 Costs vary based on the condition of the concrete , location, and the level of polish or customization. Finish Type Cost Range (per sq. ft.)Description Basic Polish$3 – $5Simple matte finish, no colorMid-Level$5 – $8 Light grind with stain or low-sheen High-End Custom$8 – $15+Full aggregate, multiple colors, patterns Repairs to damaged slabs may add an additional $1–$3 per square foot . Polished Concrete vs. Epoxy Flooring Polished concrete and epoxy floors are both popular choices in commercial and industrial settings, but they’re increasingly found in homes too. Polished concrete offers a natural, breathable surface with a clean, modern look. It's highly durable, long-lasting (up to 30 years or more), and resistant to stains and heavy traffic. Epoxy floors, on the other hand, are known for their smooth, seamless surface and excellent chemical resistance. They come in a wide range of colors and finishes, making them a versatile option for garages, hospitals, or retail spaces. However, epoxy may chip or peel over time, especially if not properly installed or maintained. While epoxy can be slippery when wet, polished concrete offers a safer grip with the right finish. Polished concrete tends to be lower maintenance in the long run and better suited for areas where aesthetics and durability are equally important. Polished Concrete vs. Hardwood Flooring When comparing polished concrete to hardwood flooring, the differences are more about functionality and design preference. Hardwood floors are prized for their warmth, natural beauty, and comfort underfoot. They bring a timeless appeal to traditional homes and cozy interiors. However, hardwood can scratch easily, is vulnerable to moisture damage, and requires more maintenance—including refinishing and careful cleaning. In contrast, polished concrete is incredibly tough and low maintenance. It doesn’t scratch easily, doesn’t warp, and doesn’t need refinishing. While it may feel cold or hard underfoot, those issues can be managed with rugs or underfloor heating. Polished concrete fits better in modern, industrial, or minimalist interiors, whereas hardwood shines in spaces aiming for warmth and character. Polished Concrete vs. Ceramic or Porcelain Tile Both polished concrete and tile are highly durable and moisture-resistant, making them suitable for kitchens, bathrooms, and high-traffic areas. However, there are key differences. Tile offers greater variety in colors, textures, and patterns, which allows for more intricate design options. It’s a solid choice if you’re looking to create a decorative or traditional look. That said, tiles can crack if something heavy drops on them, and grout lines require regular cleaning and sealing to avoid stains or mildew buildup. Polished concrete, by contrast, offers a seamless surface with no grout to maintain. It can be customized with stains or aggregates to achieve a clean, modern look. Both options are hard and cold underfoot, so comfort levels are similar. Overall, tile is better for decorative flexibility, while polished concrete wins for minimalism and easy maintenance. Polished Concrete vs. Vinyl Flooring Vinyl flooring—particularly luxury vinyl tile (LVT)—has grown in popularity due to its affordability, comfort, and ease of installation. It’s soft underfoot, comes in countless styles that mimic wood or stone, and is often waterproof. However, vinyl is more prone to tearing, scratching, and fading over time, especially in high-traffic areas. It also lacks the premium feel and long-term durability of polished concrete. Polished concrete, while more expensive upfront, offers far better resistance to wear and tear and can last for decades without replacement. It’s also more eco-friendly, as it uses the existing concrete slab rather than new materials. For budget-conscious homeowners or temporary spaces, vinyl may be the practical choice. For longevity, low maintenance, and a clean, modern aesthetic, polished concrete offers more value over time. When You’re Ready for Polished Concrete Flooring Installation Ensure long-lasting beauty with Polished Concrete Flooring , installed by our experts. Is It Safe to Walk On? Polished concrete is not naturally slippery, despite the shine. When dry, it offers comparable grip to most finished floors. For high-risk areas (like kitchens or entryways), anti-slip finishes or additives can be included in the final seal. Safety Tips: Choose a satin or matte finish for better traction Use anti-slip sealers in wet zones Add rugs or mats where needed (especially near sinks and doors) How to Care for It Long-Term Keeping polished concrete looking good is simple: Daily : Dust mop or sweep Weekly : Mop with a neutral pH cleaner Monthly : For large areas, an auto-scrubber may be used Annually : High-traffic spaces may need reburnishing or spot polishing Avoid harsh chemicals like bleach or acidic cleaners—they can dull the finish and weaken the sealer. Popular Finish Styles and Design Features Aggregate Exposure Levels Cream Finish : Subtle, natural appearance Salt-and-Pepper : Shows smaller stones and sand Full Aggregate : Deeper grind revealing large stones, similar to terrazzo Gloss Options Matte : Soft, natural look Satin : Balanced shine High Gloss : Mirror-like finish for upscale designs Color Treatments Acid Stains : Create unique, marbled tones Water-Based Dyes : Bold, consistent shades Patterns : Logos, geometric shapes, or borders via engraving and stenciling FAQs Is it a good choice for kitchens or bathrooms? Yes, as long as it’s properly sealed and includes an anti-slip finish. Can old concrete be polished? Absolutely, but damaged or uneven slabs may require prep work first. Does it need to be resealed regularly? Typically, every 2–3 years in high-use areas to keep it stain-resistant and glossy. Is it eco-friendly? Yes, especially when you’re using the existing concrete slab. It reduces material waste and VOC emissions. Can it improve resale value? In many cases, yes—especially in homes with modern, minimalist, or open floor plans. Conclusion Polished concrete offers a long-lasting, easy-to-care-for flooring solution that suits a wide range of environments. Its durability, visual versatility, and sustainable qualities make it a smart investment for homeowners and commercial spaces alike. While there are considerations like hardness, coldness, or acoustics, these are manageable with proper planning and design. If you're exploring flooring options in 2025, polished concrete remains one of the most practical and design-forward choices on the market. For Professional Flooring Installation Services Our team specializes in Polished Concrete Flooring to help bring your vision to life.
Grab a Seat!
More Insightful Blog Posts are on the Way!
Sign up and you'll be the first to read!