Hardwood vs. Luxury Vinyl Plank: Which is Best for Your Home?
Chad Davis
The body content of your post goes here. To edit this text, click on it and delete this default text and start typing your own or paste your own from a different source.

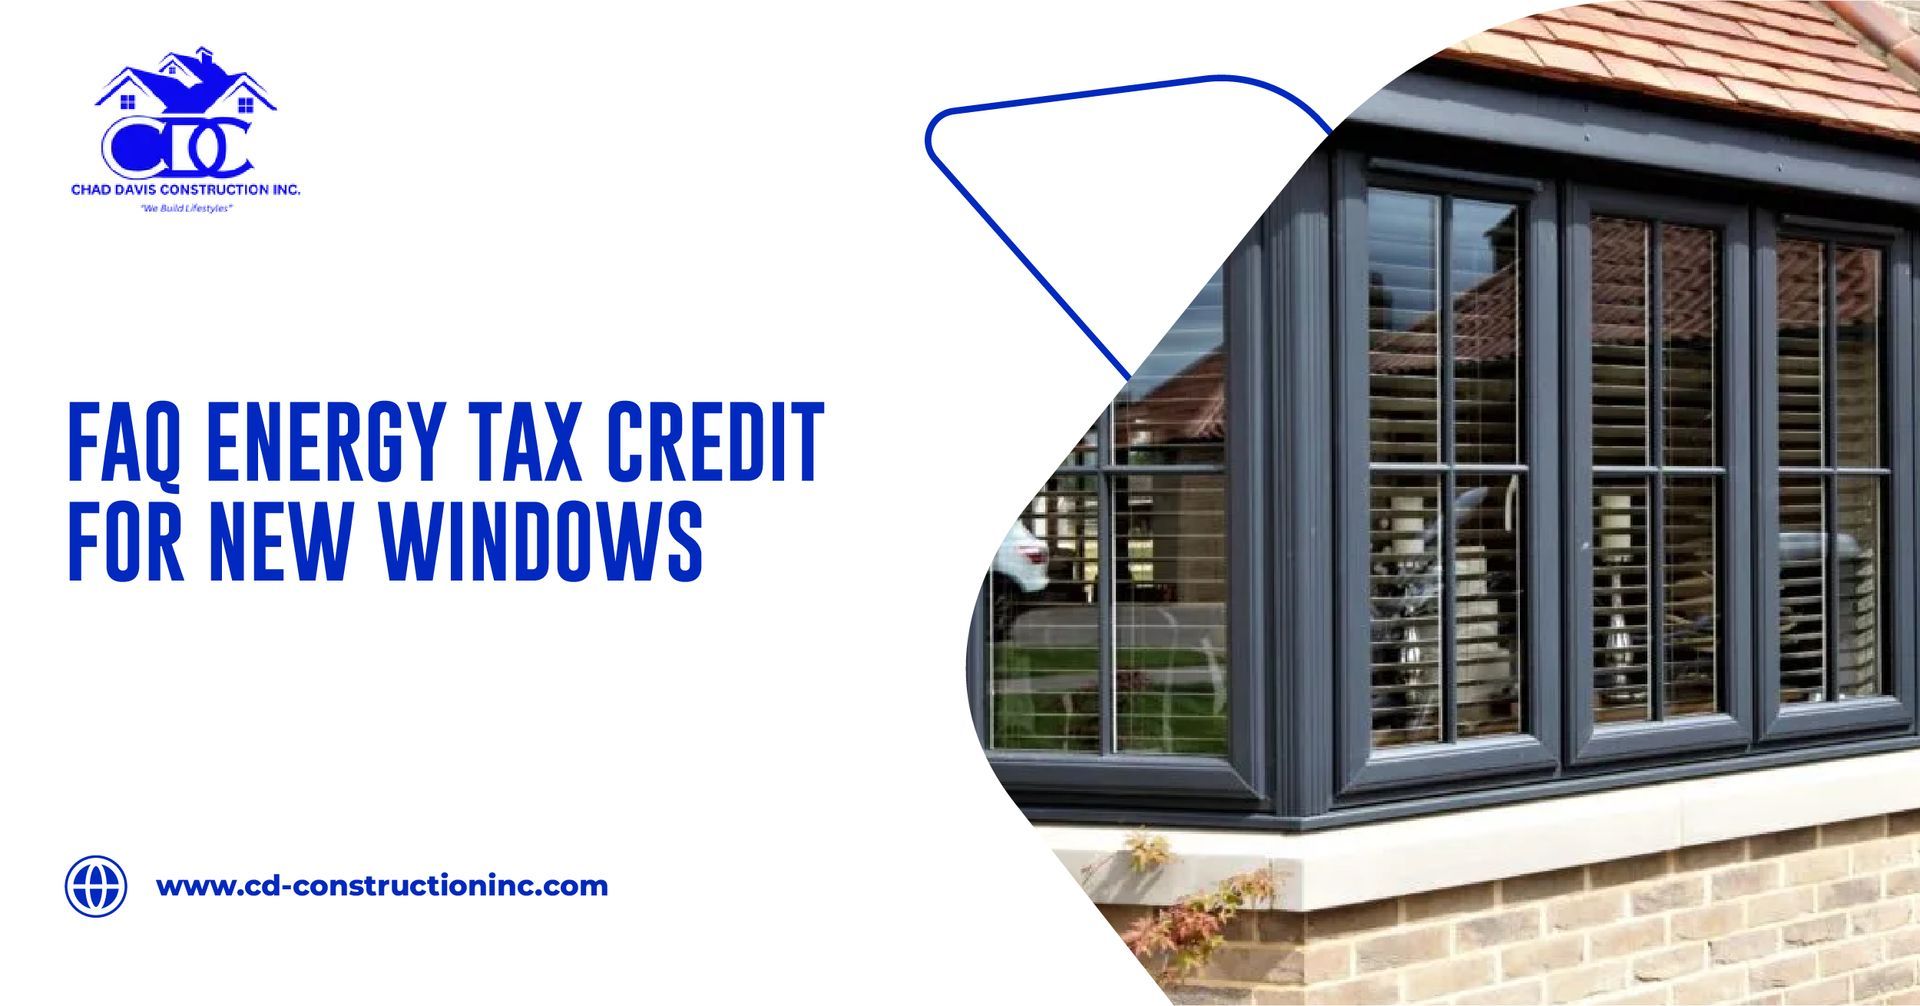
Change your old windows not only because it will enhance the look of your house, but also because it is one of the most effective methods of making your house energy-saving. Still, here is even better news, though: federal energy tax credits can often help homeowners to save money, provided they install energy-efficient windows, which qualify. You may have heard of the so-called Energy Tax Credit, but you are not so clear on how it operates. This FAQ-style document will shed some light in simple and easy-to-understand terms. What Is the Energy Tax Credit for Windows? The Energy Efficient Home Improvement Credit (a component of the Inflation Reduction Act of 2022) is a federally-funded program that offers homeowners a tax credit on energy efficient upgrades such as windows, doors, insulation and HVAC systems. Basically, the government encourages homeowners to enhance energy efficiency since it will minimize energy wastage and help the environment. When you are taking this credit, you are able to draw money back on your federal income tax filing on a portion of what you had spent on qualifying home improvements. How Much Is the Tax Credit for New Windows? The energy tax credit was reinstated in 2023 and homeowners should claim 30 percent of the full cost of the qualifying energy-efficient home improvements, such as the installation of new windows. Nevertheless, it has a limit of 4000 a year. In the case of windows, you will receive up to $600 in rebates annually, as part of a larger break of $1,200 annual rebate on all home envelope spending (such as windows, doors, and insulation combined). So, for example: · In the case that you purchase windows worth $2000, which qualifies, 30 percent of the purchase will be used as a credit of $600; that is, you are able to claim the full window credit in that tax year. · When you spend $4,000, you can only deduct windows up to $600. Do All Windows Qualify for the Energy Tax Credit? N, not all windows. In order to qualify, you need to have new windows that can pass ENERGY STAR(r) certification in your area. These are the windows that are designed with a special purpose to avoid heat loss in winter and minimize heat gain in summer. You should seek the ENERGY STAR label when you are buying new windows. You will also need the certification statement of the manufacturer who will ensure that your window model has all the energy-efficiency requirements of the credit. When you hire CD Construction to install your windows, we will see to it that your windows are up to these requirements, and you can present the credit during the time of taxation. Can I Claim the Credit for Replacing Old Windows? Yes, actually, one of the best ways to qualify for the credit is to replace the old, drafty windows with the new, energy efficient windows. It does not require you to be constructing a new house, the credit is only extended to existing primary homes. It cannot be claimed on your behalf that: · New home construction · Rental or investment buildings. · Vacation or secondary homes But when you are residing at the house and change your windows, you qualify. How Do I Claim the Energy Tax Credit? It is not that difficult to claim the credit. You will do it as you file your federal tax return at the end of the year, when the windows were installed. · Store your receipts and the certification statement of the manufacturer. · Complete IRS 5695 (Residential Energy Credits). · Attach the form to your normal tax filings for the year. You do not need to attach receipts with a tax filing, but it is advisable that you have the same, so that in case the economic regulator may demand the same in the future. In case you do not know how to complete the form, a tax expert can guide you through the steps to ensure that you are filing the form properly and receive the maximum credit available. When Does the Energy Tax Credit Expire? The bigger news is that the Energy Efficient Home Improvement Credit was extended through 2032, which means homeowners have almost a decade to plan and make upgrades while still receiving federal tax benefits. However, the credit resets each year, meaning you can only claim up to $600 per annum for windows. If you plan more than one upgrade (like new windows one year and doors the next), you can continue to take advantage of the credit annually. Why Should I Replace My Windows Now? Aside from the tax benefits, replacing your old windows offers long-term savings and comfort. Energy-efficient windows help: Reduce heating and cooling costs by keeping temperatures stable Lower outside noise Prevent drafts and condensation Improve your home’s resale value Plus, with federal tax credits available, it’s a smart time to upgrade. You’ll enjoy immediate comfort improvements while also lowering your future energy bills. At CD Construction , we specialize in energy-efficient remodeling and window installation. Our team uses high-quality, certified materials and ensures every installation meets both performance and eligibility standards, so you can save money and qualify for tax incentives with confidence

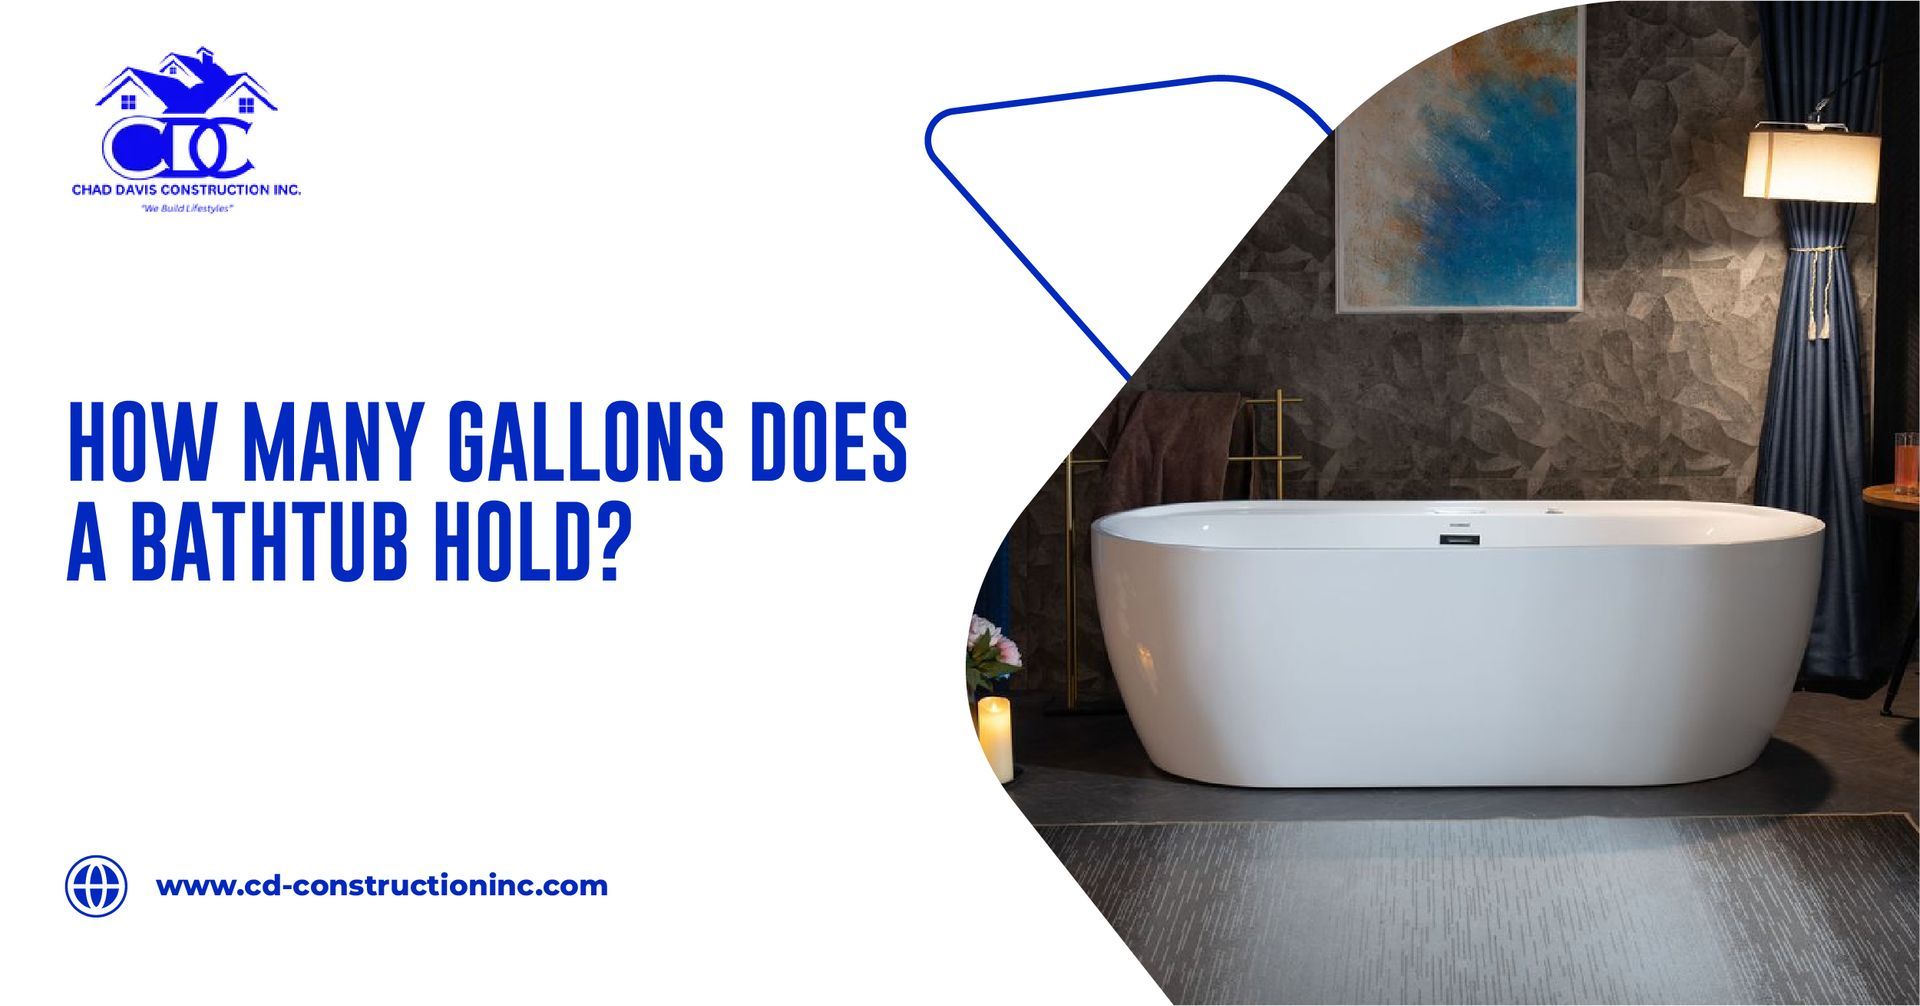
The design of your bathtub may not seem like a big issue when it comes to the home design; however, it could be a big difference when it comes to planning how to do your plumbing, water heating, or remodeling work. The most frequent question that a homeowner will ask is, how many gallons of water a bathtub can hold. The response is based on a number of factors such as the type, shape, and size of the bathtub. We can divide it into simple terms. Understanding Bathtub Capacity The capacity of a bathtub is a measure of the amount of water that can be contained in the bathtub when it is full. This is not the case in life, though, because you seldom fill a tub up to the rim, or it would overflow as soon as you get in. Usually, most tubs are filled not more than two-thirds full to allow space to be displaced by the body's weight. The bathtub capacity is commonly calculated in gallons in the US. The amount of gallons that your tub can hold will allow you to design the appropriate water heater size, plumbing needs and even the utility bills. As an example, a 40-gallon water heater would only provide half-warm water to an 80-gallon tub full of water. Average Bathtub Sizes and Capacities We shall consider the average water capacity of the most common types of bathtubs used in homes nowadays. 1. Standard Alcove Bathtub This is the most widespread kind of tub that is commonly used in smaller bathrooms or apartments. It is mounted on three walls and its design is simple and in the form of a rectangle. Ordinary size: 60 inches, 30 inches, 14-16 inches. Average Water Capacity: 40-60 gallons. To have a comfortable soak, you will probably fill it with approximately 40 gallons of water. It is a practical type and space efficient to use on a daily basis. 2. Soaking Bathtub Soaking tubs are deeper than the standard models and are designed to allow you to submerge more of your body when used to relax. Typical size: 60 inches long, 32 inches wide, 20–24 inches deep Average water capacity: 70–110 gallons Because of their depth, soaking tubs require more hot water, so it’s wise to ensure your water heater can handle the load. 3. Freestanding Bathtub Freestanding tubs, including clawfoot and modern sculpted designs, are often chosen for their luxurious appearance. Typical size: 55–72 inches long, 27–32 inches wide, 15–24 inches deep Average water capacity: 60–120 gallons They’re statement pieces, but their large size can also mean longer fill times and higher water usage. 4. Whirlpool or Jetted Bathtub These tubs include built-in jets for a spa-like experience. Because they’re designed for comfort and movement of water, they tend to be deeper. Typical size: 60–72 inches long, 32–36 inches wide, 18–24 inches deep Average water capacity: 80–120 gallons Installing one of these often requires reinforced flooring and a dedicated electrical connection, something CD Construction specializes in managing efficiently and safely. 5. Corner Bathtub Installed in bathroom corners, these are wider and often used for shared or decorative spaces. Typical size: 60 inches on each side, 20–22 inches deep Average water capacity: 90–120 gallons These tubs use quite a bit of water but are a favorite for homeowners who want a spa-inspired look. Why Knowing Your Bathtub’s Capacity Matters Knowledge about the number of gallons that your bathtub can hold is useful in a number of ways: · Planning your hot water: When you have a small water heater, you may run out of hot water before you fill your tub. · Utility Efficiency: The awareness of the gallons assists in estimating the amount of water (and energy) you will consume each time you take a bath. · Plumbing Design: In bathroom renovation, your contractor can make sure that your plumbing system can withstand the flow rate and drainage that you need in your tub. · Structural Safety: When full of water, the bigger tubs may weigh more than 1,000 pounds, particularly when you include a person. That is, you have to have your flooring reinforced well. At CD Construction, these details are always taken into consideration by our experts during the construction or remodeling of bathrooms. You make sure that not only is it beautiful, but also functional, safe and efficient. How to Estimate Your Bathtub’s Capacity at Home Want to know how much water your own tub holds? It is easy to figure out: · Measure the depth, length and width (in inches). · Add up these three numbers. · Divide the answer by 231 (one gallon = 231 cubic inches). · The last figure will tell you the number of gallons filled to the rim, but minus a fifth thereof, so that you can have an approximate fill-up. For example , a tub that’s 60" × 30" × 15" = 27,000 cubic inches. The capacity of 27,000/231 = approximately 117 gallons full, or about 90 gallons working capacity. Final Thoughts You can remodel your bathroom, change the fixtures, or just be interested in knowing how many gallons your bathtub can hold. Knowing the bathtub capacity is more than a fun fact; it is the practical information in the planning of the home. It can be as simple as selecting the appropriate type of water heater or making sure the flooring in your house is supported properly, but this little aspect may make or break, as far as your comfort and the functionality of your home are concerned. In CD Construction, we assist the homeowners in designing and constructing bathrooms that are comfortable, beautiful, and functional. When you are thinking of remodeling your bathroom or creating a new tub, our group can take you through the entire process of design, plumbing, and minor details.

Talent, precision and collaboration are three pillars of any successful project in the dynamic world of construction. Although heavy machinery and novel technology make a contribution, it is the human resource that actualizes the blueprints, and more specifically, those with fine, practical knowledge. In this problem, skilled labor comes into the picture. Be it a residential development, a commercial site or an infrastructure development, it is important to know the importance of skilled labor in delivering quality, safety and efficient development. In this blog, CD Construction deconstructs the meaning of skilled labor in the construction industry, its importance, and its implications on the results of each workplace. Defining Skilled Labor in Construction Skilled labor means those workers who have specialized knowledge, training, and experience to carry out certain activities in the construction process. In contrast to general laborers, skilled laborers, unlike general laborers, can be engaged in jobs that usually involve certification, licensing or technical education. They are trained to handle the tools and systems or materials so that they can be precise, regulate and produce quality results. Professional workers receive apprenticeship, vocational training, or experience on the job in order to perfect their trade. Common examples of skilled trades in construction include: Electricians Plumbers HVAC Technicians Carpenters Masons Welders Heavy Equipment Operators Roofers Concrete Finishers All these functions do not presuppose only physical skills but strong familiarity with codes, safety procedures, materials, measurements and sequencing. Skilled Labor vs. Unskilled or General Labor To understand skilled labor better, it’s helpful to draw a distinction between skilled and general labor: · General workers do strenuous work, but minor technical work, like transporting materials, cleaning debris, or simple demolition. Although they are essential to the working process, they usually do not demand any certifications or sophisticated tools. · The highly skilled workforce, however, is usually working with power tools, setting up systems, blueprints, or performing work where quality and adherence are not negotiable. Their work is more responsible and it directly influences structural integrity, energy performance, and project schedules. Both roles are important, but it’s skilled labor that drives the critical stages of a build — from foundation to finish. The Value Skilled Labor Brings to a Construction Project At CD Construction, we perceive a talented workforce as the force of greatness. These experts not only carry with them practical capability but also insight, problem-solving, and innovative thinking, which cannot be replicated by general labor. The value that labor expertise can add to a project is as follows: Precision and Accuracy Professional craftsmen have been trained to work according to architectural specifications and be able to make precise measurements that demand the highest level of accuracy. Such precision will avoid the expensive re-work and ensure the durability of structures and systems. Safety and Compliance The experienced workers are informed about the OSHA standards, construction codes and safety best practices. They ensure the safety of the end users as well as the integrity of the project through their knowledge. Efficiency and Speed Experience allows the experienced workers to work faster and error-free. Their on-the-fly troubleshooting also minimizes downtime and schedules projects on time. Adaptability and Leadership. The experienced workers tend to assume the role of supervisor or mentor. They are able to turn around at times of difficulties and present viable solutions that preserve the workflow and quality. The Growing Demand for Skilled Labor in the U.S. There is a shortage of skilled labor in the construction industry, which is well-documented throughout the country. Demand: Due to the retirement of the experienced tradesmen and the reduced number of young workers joining the vocational industry, there is a shortage of certified and reliable skilled labor. This is not only a decision, but a requirement for the construction firms such as CD Construction, which must invest in skilled labor. It further creates opportunities for career and employment security to tradespeople who are ready to join the trades, with the infrastructure investment and residential development on the upswing. How CD Construction Prioritizes Skilled Labor We know that at CD Construction, quality builds do not exist by luck, and this is because qualified hands and bright minds operate in unison. That's why we: o Employ qualified and skilled workers in any kind of project. o Fund further learning and safety education. o The development of mentorship and career among our crews. o Partner with local trade and apprenticeship schools. Hire experienced people to be the heads of our field teams and guarantee high-quality outputs. Whether it is an extensive project or a personalized house, our team of experts is the difference-maker in every successful project. Conclusion: Skilled Labor is the Backbone of Quality Construction The best you can do in building construction is to have the best people to do it. Tools and technology are part of it, but experience, technique, and effort of skilled work that make it safe, functional, and handicapped. Being a client, a project manager, or a contractor, investing in labor that is skilled is not about merely having the job done, but getting it done right. Corner-cutting is not in the game at CD Construction. We construct intentionally, accurately, and individuals who are proud of what they do.

